A picture is just a few colors, holding hands.
Pictures,
pressed in PLA.
PLAyered boils a photo or drawing down to a handful of colors, then builds a 3MF your printer makes in one go, swapping filament for each color. Your picture finally has somewhere to live.
Pick your inks

Three steps.
One print.
-
1
Bring a picture.
A photo, a drawing, a logo. PNG, JPEG or WebP. Crop it and give it a real size in millimetres.
-
2
Pick your colors.
Choose 2 to 8. Merge the specks, smooth the jaggies, keep the character. Compare as you go.
-
3
Print it in one go.
Build a multicolor 3MF. PLAyered checks the geometry and runs a real slice in Bambu Studio, then your printer swaps filament as it goes.


Keep the moment.
Lose the noise.
Grain, lens flare, a busy background: photographs don’t arrive as tidy vector art. Four colors and some cleanup still hold on to a face or a place. Drag the handle to compare.


Actual app previews. Both examples have been exported and slice-checked; these images show the color treatment, not a physical print.
Automatic color
Let the app
pick the palette.
You choose how many colors. Auto selects them from your photo; cleanup turns the noisy bits into printable shapes. Everything here is automatic—no handpicked swatches or local retouching.
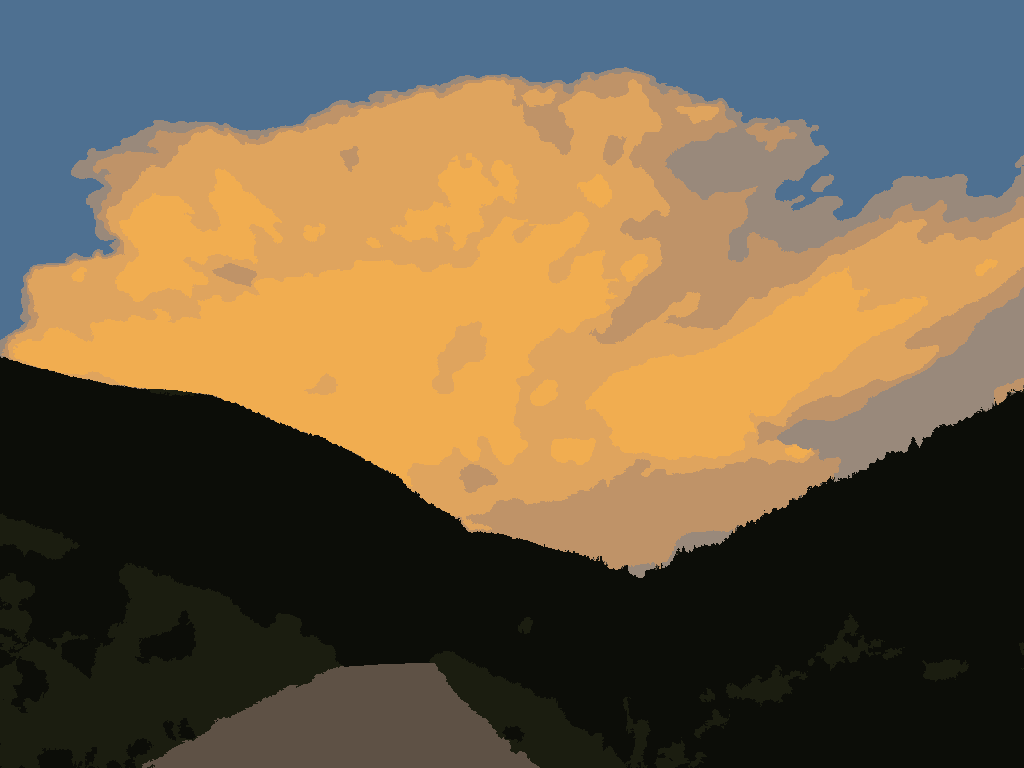
Color count and cleanup are separate controls. These examples use different cleanup strengths; Thunderhead’s eight-color version uses stronger cleanup to reduce fine gaps. More than four colors requires extra filament capacity or manual changes.
About the previews and print estimates
Digital app previews, not photographs of prints. Every option was exported and sliced in Bambu Studio: P2S, 0.4 mm nozzle, 0.2 mm layers, PLA Matte, 180 mm long edge, prime tower included. Times are estimates for that exact file. “Sliced paths” shows an approximate top-down rendering of the actual validation G-code, including gaps between extrusions. It is not a physical print simulation. “Shapes” counts separate color regions. More colors do not guarantee fewer shapes or a faster print. Select your own printer and filaments, then re-slice; an external spool is not an automatic fifth AMS slot.
Straight off
the camera roll.
Clouds, lakes, desert light. Real photos through the real app. Start with Auto, choose your own colors, or refine a small area. Each photo keeps these approaches together. Tap the image to see the original.
-
Sliced paths ↗
Palette colors chosen or adjusted by hand; automatic shape cleanup.
-
Sliced paths ↗
Palette colors chosen or adjusted by hand; automatic shape cleanup.
-
Sliced paths ↗
Custom colors, then local cleanup to keep the foreground lily pads green.
-
Sliced paths ↗
Palette colors chosen or adjusted by hand; automatic shape cleanup.
-
Sliced paths ↗
Palette colors chosen or adjusted by hand; automatic shape cleanup.
-
Sliced paths ↗
Palette colors chosen or adjusted by hand; automatic shape cleanup.
-
Sliced paths ↗
Palette colors chosen or adjusted by hand; automatic shape cleanup.
-
Sliced paths ↗
Palette colors chosen or adjusted by hand; automatic shape cleanup.
-
Sliced paths ↗
Palette colors chosen or adjusted by hand; automatic shape cleanup.
-
Sliced paths ↗
Palette colors chosen or adjusted by hand; automatic shape cleanup.
-
Sliced paths ↗
Palette colors chosen or adjusted by hand; automatic shape cleanup.
-
Sliced paths ↗
Palette colors chosen or adjusted by hand; automatic shape cleanup.
-
Sliced paths ↗
App-chosen colors and automatic cleanup. No handpicked colors or local edits.
-
Sliced paths ↗
App-chosen colors and automatic cleanup. No handpicked colors or local edits.
Digital previews, not photographs of prints. Every treatment has its own exported 3MF and Bambu Studio slice. Estimates use a P2S, 0.4 mm nozzle, 0.2 mm layers, PLA Matte and a 180 mm long edge, including the prime tower. Colors are not matched to stock filaments. Open the project in Bambu Studio, select your printer and filaments, then re-slice. Photos by the maker.
What you get
Flat, multicolor art with real depth. Every color gets its own filament, packaged as a 3MF project ready for Bambu Studio.
What you don’t
A 3D sculpture of your photo, or filament blending tricks. Not every pixel makes the trip, and that’s the charm.
Good
questions.
What does PLAyered actually make?
A multicolor 3MF of flat artwork with a little depth. Each color in your picture becomes its own region, and your printer swaps filament between them as it prints. It doesn’t sculpt your photo in 3D or blend translucent filaments.
Will it work with my printer?
These examples were checked with a Bambu P2S profile. Open the 3MF in Bambu Studio and switch to your printer, nozzle and filament there, like any other project. The A1 mini has a smaller bed, so size your picture to fit. Leave room for the prime tower and check the sliced layers before you print. Up to four colors fits one four-slot AMS; extra colors need a compatible setup or manual changes.
Can I use any photograph?
Yes. Start with a small palette and look closely at faces, edges and busy backgrounds. Grain and lens flare turn into lots of tiny regions, so simplify rather than chasing every pixel.
Does my picture leave my Mac?
The core workflow stays on your Mac: import, cleanup, preview, geometry and export run locally, with no account or API key. Optional external integrations require separate setup and consent. See the privacy notes.
How long does a build take?
Simple artwork builds quickly. Big, noisy photos can take several minutes, because PLAyered checks the geometry and runs a real Bambu Studio slice before it hands you the file.
PLAyered for Mac · v0.1.0
Load up
the colors.
Download PLAyered, drop in a picture, and walk away with a 3MF ready for Bambu Studio.
Download for Mac ↓ Read the guide ↗Parts list · what you’ll need
- AApple Silicon MacmacOS 14+ · tested on macOS 26
- BBambu Studio 2.8+Installed separately
- CA Bambu Lab printerSelect your model in Bambu Studio · allow room for the prime tower
- DA picturePNG, JPEG or WebP → 3MF
- EAn accountNot required. Core processing stays on your Mac.